How to Make a Homemade Remote Controlled Car
Do you want to make a remote controlled car? Of course, you do! Making things is always a blast, and this RC car is no exception. But before we get started, there are a few things you need to know.
First, this will be a challenging project, but don’t worry” you can do it! Second, you’re going to need a few materials. Luckily, most of them are probably already in your garage or workshop. Finally, there are a few steps you need to take to make your car work properly. We’ll walk you through them all, so don’t worry. Let’s get started!
Introduction
You want to make a remote controlled car. Well, we’re here to show you how.
This is a simple project that doesn’t require special skills or tools” all you need is patience and a few basic supplies that you can find at your local hardware store or home improvement center. Plus, this is a great way to teach your kids about robotics and engineering or to have fun with them on a weekend afternoon.
So let’s get started. The first step is to gather your materials and tools. Then we’ll show you how to put the car together and, finally, control it with the remote.
Materials Needed
To make your very own remote controlled car, you will need the following materials:
– A small toy car or a model car without the electronics
– A motor that runs on 3-6 volts
– 2 D batteries
– A battery clip
– Wire
– Soldering iron
– Thin wire (22 gages)
– Assortment of small screws and nuts
– Electrical tape
– Pliers
– Scissors
If you are uncomfortable with using a soldering iron, you can get by without it by using alligator clips to connect the wires.
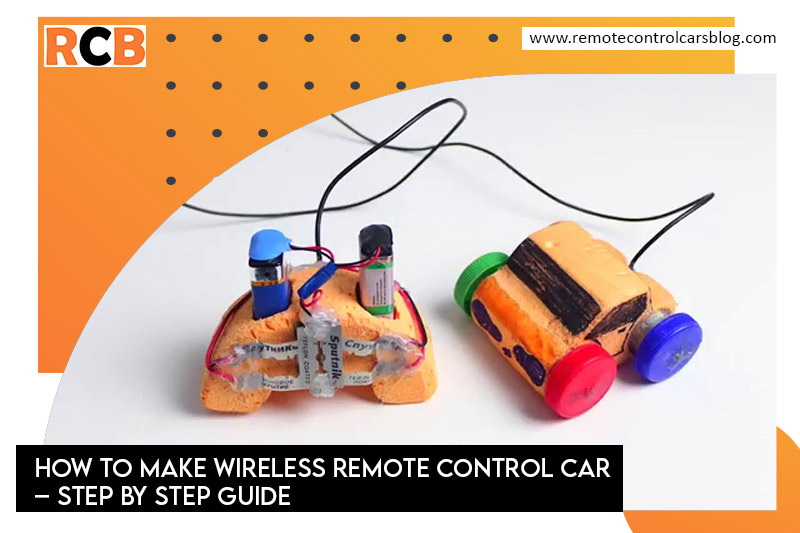
Building the Car
Now it’s time to start assembling the car. Start by attaching the front wheels to the car body. Make sure they face the right direction, as shown in the diagram.
Now use the screws to attach the motor to the car body. Make sure it is in the center, as shown in the diagram.
Next, attach the back wheels to the car’s body. Again, make sure they are facing in the right direction.
Finally, use the screws to attach the battery pack to the car body. Make sure it is in an excellent position to switch it on and off easily.
Attaching the Remote Control
The next step is attaching the remote control. You’ll need to solder the positive and negative wires from the battery pack to the positive and negative wires on the receiver.
When soldering, it’s essential to use a Solder Sucker (or desoldering braid) to remove any excess solder. You don’t want too much solder on the connection, which can cause a short circuit.
Once you’ve soldered the wires, use heat shrink tubing or electrical tape to insulate the connection and prevent bare cables from touching each other. This is an important safety step, as it will help prevent accidental electrical shocks.
Finishing Touches
Now that you have completed the basic structure of your car, it’s time to add some finishing touches. This is where you’ll get to be creative and have some fun!
Some things you might want to consider adding to your car include:
– Decals or paint job: A new coat of paint or some cool decals can make your car stand out from the rest.
– LED lights: These are great for both function and style. You can use them to light up the way in front of your car or to make it look fabulous as it cruises down the street.
– Sound system: Why not add a little music to your rides? A tiny Bluetooth speaker can easily be mounted on your car and will provide hours of entertainment.
Get creative and have fun with it! Remember, there are no rules when it comes to making your remote controlled car.
Conclusion
So there you have it,” a homemade remote controlled car that you can make in just a few hours! This project is excellent for anyone who loves cars or tinkering with electronics. And the best part is that it doesn’t cost much to build.
I hope you enjoyed this tutorial and feel confident enough to make your remote controlled car. If you have any questions, off road remote controll car feel free to leave a comment below. And if you make your car, I’d love to see it!
Conclusion
So, that’s how you make a homemade remote controlled car! The great thing about this project is that it can be tailored as simple or complex as you want it to be, and you can use whatever materials you have on hand.
If you want to take your remote controlled car to the next level, you can experiment with different power sources, add more wheels, or even make it autonomous. However you choose to customize your car, the most important thing is to have fun and be creative!