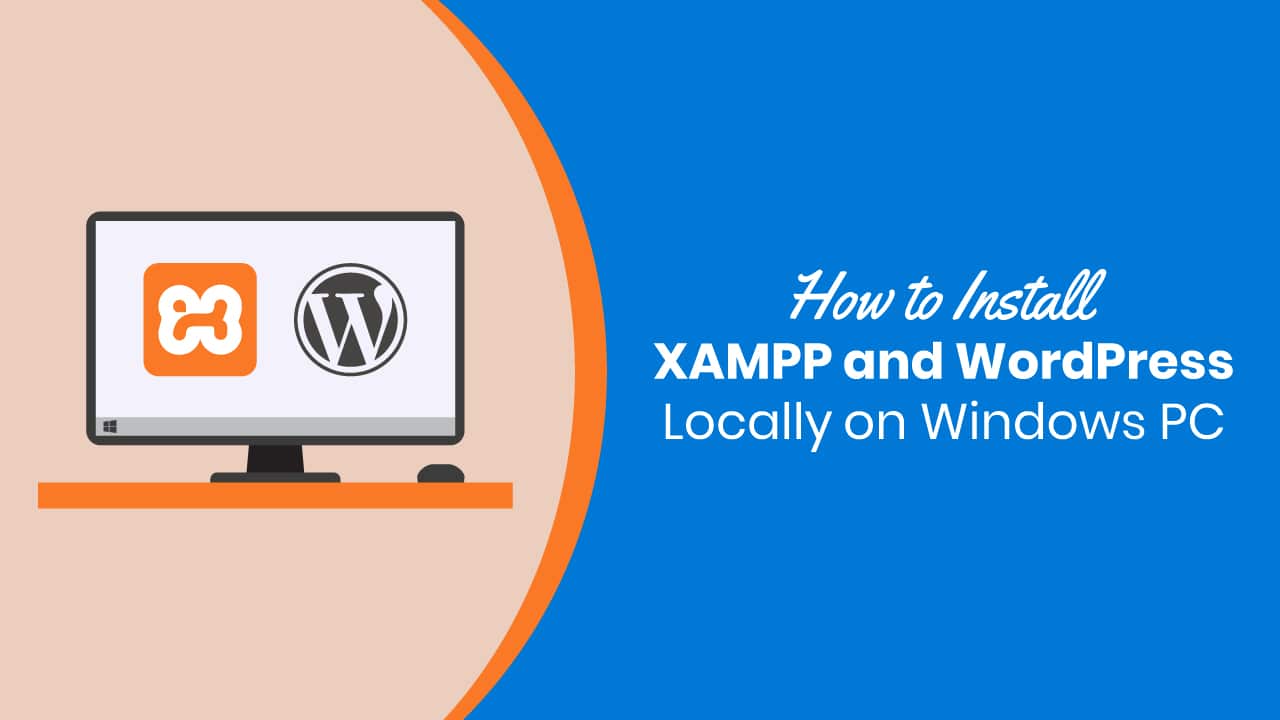
Installing WordPress Locally
As the most well-known web stage, WordPress is now fueling up more than 33% of the whole sites. Several individuals are entering the network each day. On the off chance that you also are one of them, we are inviting you with this simple and amateur agreeable instructional exercise “installing WordPress locally” in five simple advances.
Learning WordPress is simply fun. These days, anybody can construct a site for his/her blogging-business or some other purposes in practically no time. Indeed, CMS (Content Management System) made it such simple for us all. Furthermore, WordPress is driving the CMS business with an astounding piece of the overall industry of over 60%!
In this post, we have told the best way to introduce WordPress on localhost in 5 simple advances.
- Download XAMPP
- Install and Run the XAMPP on Your PC
- Download WordPress Latest Version
- Create a Database
- Install WordPress on Localhost
Why Install WordPress on Localhost?
A site in a localhost situation is fundamentally for individual purposes, not for clients or crowd. The main individual who can see the site is you! Things being what they are, the reason does anybody have to make a site in localhost?
The appropriate response is as of now given in the above passage. Prior to going live with our site or to make a visual nearness, we ought to gain proficiency with the essentials and test the yield of our created arrangement. A localhost site allows us to check and experience the updates, changes, and settings and so on to make certain about the last yields.
Thus, a localhost site really bolsters you to plan for your next conclusive move. Innovation is proceeding quickly so is the product business. There is no possibility to disregard the refreshing updating process. Here comes the localhost site to the salvage.
The most effective method to Install WordPress on Localhost (5 Easy Steps)
WordPress made it simple to introduce the arrangement effortlessly both in a c-board or localhost. The vast majority of the popular facilitating supplier organizations offer a single tick establishment for WordPress. However, you have to rely upon a localhost web worker answer for make a database and spare your records when you are making a nearby webpage.
What’s more, there is various famous arrangement out there to set up your WordPress on Localhost. To make your activity simple, we are referencing four of the most well-known localhost specialist organizations.
- WAMP
- MAMP
- LAMP
- XAMPP
In this post, we will tell you the best way to introduce WordPress on localhost utilizing XAMPP. This localhost worker is well known for its general help and brisk reaction. You can introduce WordPress utilizing WAMP, LAMP or MAMP, following a similar way.
These are the product that makes localhost on your PC by using web worker programming Apache, PHP and MySQL. You may know- Introducing every one of these product independently is troublesome and tedious for novices. That is the reason you have to rely upon the arrangement like XAMPP/WAMP/LAMP/MAMP.
XAMPP versus WAMP versus MAMP versus LAMP: Which One is perfect for Your Device. Among these arrangements, XMAPP and WAMP are open-source and give a free arrangement.
XAMPP is better than WAMP in light of the fact that it’s perfect with all the accessible working frameworks like Windows, OS-X, and Linux. Then again, WAMP is restricted uniquely for the Windows working framework.
Stage 1 – Download XAMPP
- Simply go to the XAMPP’s authentic site. Select your working framework and snap on download button.
- There are various variants for various working frameworks. Pick the ideal one for your gadget.
In the wake of tapping on the download button, sit tight for a couple of seconds. It’s around 150 MB record, so you should give some an ideal opportunity for it to get downloaded.
Stage 2 – Install and Run the XAMPP on Your PC
This is the subsequent advance. Subsequent to downloading the product, you have to unfasten it. At the point when the record is prepared, simply select the Install catch or snap on it twice. Before long you will find that the establishment procedure has started.
- In the subsequent stage, you will see some checkboxes these are now stamped. You just need MySQL and phpMyAdmin, so unmark all the others.
- After a couple of seconds, you would see an invite notice. That implies your establishment procedure is working impeccably.
- If you have any antivirus programming introduced in your PC, you may see a security ready this way. Try not to stress, check any of the given systems and proceed by tapping on the Allow get to fasten.
- You would see a language determination choice, check one that you need and snap on the Save button.
- You are nearly toward the finish of the establishment procedure. Simply mark this inquiry box and snap on Finish button. The XAMPP control board will consequently run on your gadget.
Congratulations! You have finished the XAMPP establishment process!
Stage 3 – Download WordPress Latest Version
This is the ideal opportunity to make a database and begin introducing WordPress on localhost. To do that, you have to download the most recent variant of WordPress.
- Go to the WordPress official site, click on Get WordPress button from the upper right side. You will be diverted to another page.
- Now hit on Download WordPress button.
The download procedure may take a couple of seconds to start. You will get a compress record. Unfasten the record and duplicate that for your next employments.
Stage 4 – Create a Database
To make a database, first you have to set up an organizer on your PC in which you need to spare all the information of your neighborhood site.
- Go to your nearby circle, where you spared the downloaded XAMPP document.
- Select the htdocs organizer and glue the WordPress most recent rendition you have duplicated before.
Presently, rename the WordPress organizer. You can keep away from this choice, in the event that you need to fabricate your site with the name ‘WordPress’ itself.
We named the envelope here ‘mytest’. Check the beneath screen capture. You ought to recollect the name you have chosen for your database.
- Now, open another tab on your program and go to localhost/phpmyadmin
- Select Database
Write a similar name you have composed on your neighborhood circle. Lastly, click on the Create button. Your database will be made inside a couple of moments.
You have effectively made your localhost database. Presently, is the go to introduce WordPress on the localhost?
Note: Before heading off to the last advance, you have to begin both Apache Web Server and MySQL Database from the Xampp control board introduced on your PC or Mac. Without beginning them two, you can’t gain admittance to PHPMyAdmin.
Simply go to your application organizer. Select the Xampp control board and snap on MySQL and Apache catches. Examine underneath screen capture.
Stage 5 – Install WordPress on Localhost
Open another tab on your program and compose localhost/your given name (‘mytest’ for our situation) and hit on the Enter button. You will see a WordPress arrangement wizard like beneath.
Select your language and snap on proceed
- You would see an invite notice in the interest of WordPress. On the following stage, WordPress will require
- A database Name
- A client name
- A secret word
- And a database have
- Just click on the Let’s go button
- These are the fields you can find in the underneath screen capture.
- Provide your database name, you can compose ‘root’ as client name, keep the secret word choice clear it’s better and you would discover different fields topped off from before.
- Click on Submit button
- This is your last advance of establishment.
- Give a name to your site.
- we named our site WordPress ERP here. You can likewise keep your database name as your site’s name.
- Write your client name
- Give a solid secret phrase
- Write your own email address
- Carefully check the web search tool deceivability button.
- Something else, Google would begin ordering your neighborhood site as well!
- And, at last snap on Install WordPress button!